The data in a crosstabulation grid can be exported to an Excel spreadsheet by configuring the grid's Excel Settings.
You can choose to export the data to a blank spreadsheet or use a predefined template, in which you can specify the start point for the data. You can also create additional start points to export multiple grids to the same spreadsheet.
When exporting multiple grids at the same time, the grids will be displayed beneath each other in the same worksheet.
Note: For instructions on exporting multiple grids from a segment document to the Document Repository or an FTP Server, please refer to the topic Export Grids to Excel.
Creating an Excel template:
Open Excel and create a new spreadsheet that includes the required set of styles, such as headings and colors.
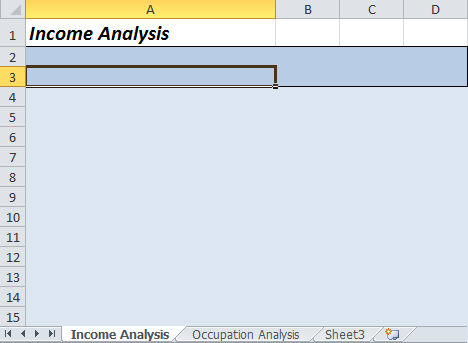
Select the position of the start point, that is the cell where the first field of exported grid data will be displayed. For example:
Select the Formulas tab then click the [Name Manager] button.
The Name Manager window is displayed.
Click the [New] button.
The New Name window is displayed.
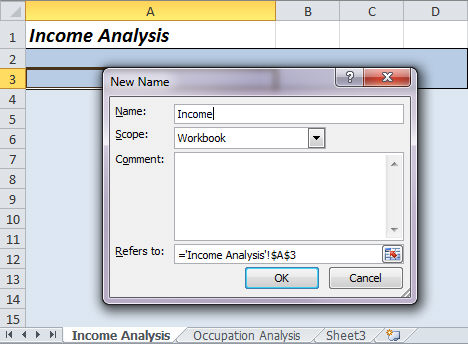
Enter a name for the start point. For example:
Click [OK].
The start point is added to the Name Manager tab.
Click [Close].
If you want to export multiple grids to the same spreadsheet, create a new start point for each grid by repeating steps 2 to 7.New start points can be created in any worksheet, and you can have multiple start points in the same sheet.
Save and close the spreadsheet.
To export a crosstabulation grid to Excel:
In the Workspace, select the cross tab that you want to export.
If required, you can open multiple cross tabs to export in the same segment document.
Flip the cross tab to display the Excel configuration settings. For example:
Do one of the following:
If you do not want to apply a template to the exported data, use the default configuration settings and proceed to step 4.
Note: when exporting multiple grids at the same time, if you have specified an Excel template for any one grid then this will override the default settings for every grid that you export and as such, the template will be applied to all exported grid data.
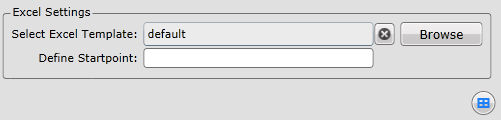
To export the data using a predefined template, click the [Browse] button to display the Document Store. You can then navigate to and select the required Excel template, and then click the [Select] button. After you have selected the template, enter the name of the template's start point (as specified in the above instructions). For example:

Flip back to the grid display.
Ensure that you have selected each grid that you want to export.
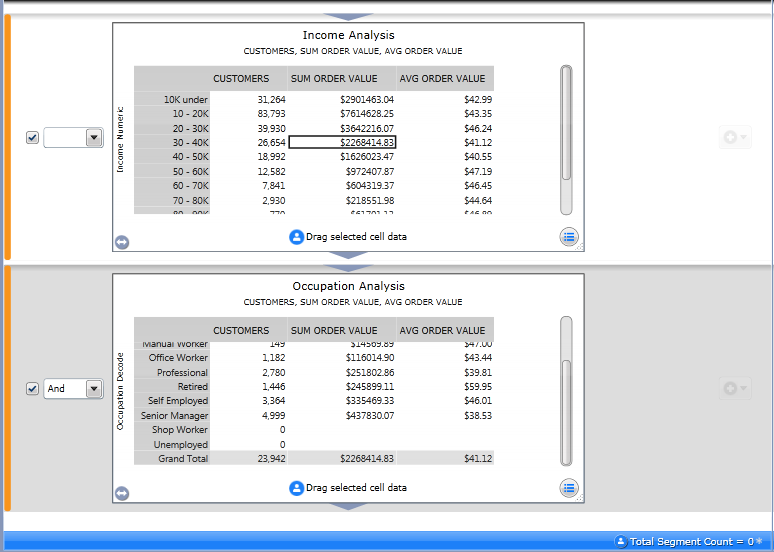
You can select multiple grids to export to the same spreadsheet, by selecting the first grid, pressing <Ctrl> and then selecting each additional required grid. Selected grids are highlighted in orange. For example:
Note: Ensure that you have configured the Excel Settings for each grid that you are exporting.
On the General ribbon bar, select Files > Excel Spreadsheet.
The 'Save As' window is displayed.
Navigate to the local directory in which you want to store the exported data then in the File name field, enter a name for the new spreadsheet.
Click [Save].
The new spreadsheet containing the exported data will be available in the specified location.